Hi! I'm Carter, and I am a technical artist specializing in pipeline, rigging, and shaders. I have a Master's from UCF's Florida Interactive Entertainment Academy (FIEA) and a BS in Game Design & Development with a minor in Psychology from Rochester Institute of Technology. You can find my resume here.
My interest in tech art started during my time at RIT. I entered my undergrad with a cursory art background, but quickly found that I enjoyed programming and was good at it. I had trouble reconciling the two until I found the tech art community at GDC 2015. After sitting in on some talks and chatting with members of the community, I discovered that it is the place for me; in my opinion it represents being able to program while still being close to the artistic side of entertainment that originally drew me to the medium.
In my spare time I enjoy watching bad movies, playing guitar, and following professional sports. I have been a brother of the Phi Sigma Pi National Honor Fraternity since my freshman year at RIT, where I held the positions of Initiate Advisor and Social Chair. I am also active in the custom Magic the Gathering community, and enjoy watching WWE with my friends.
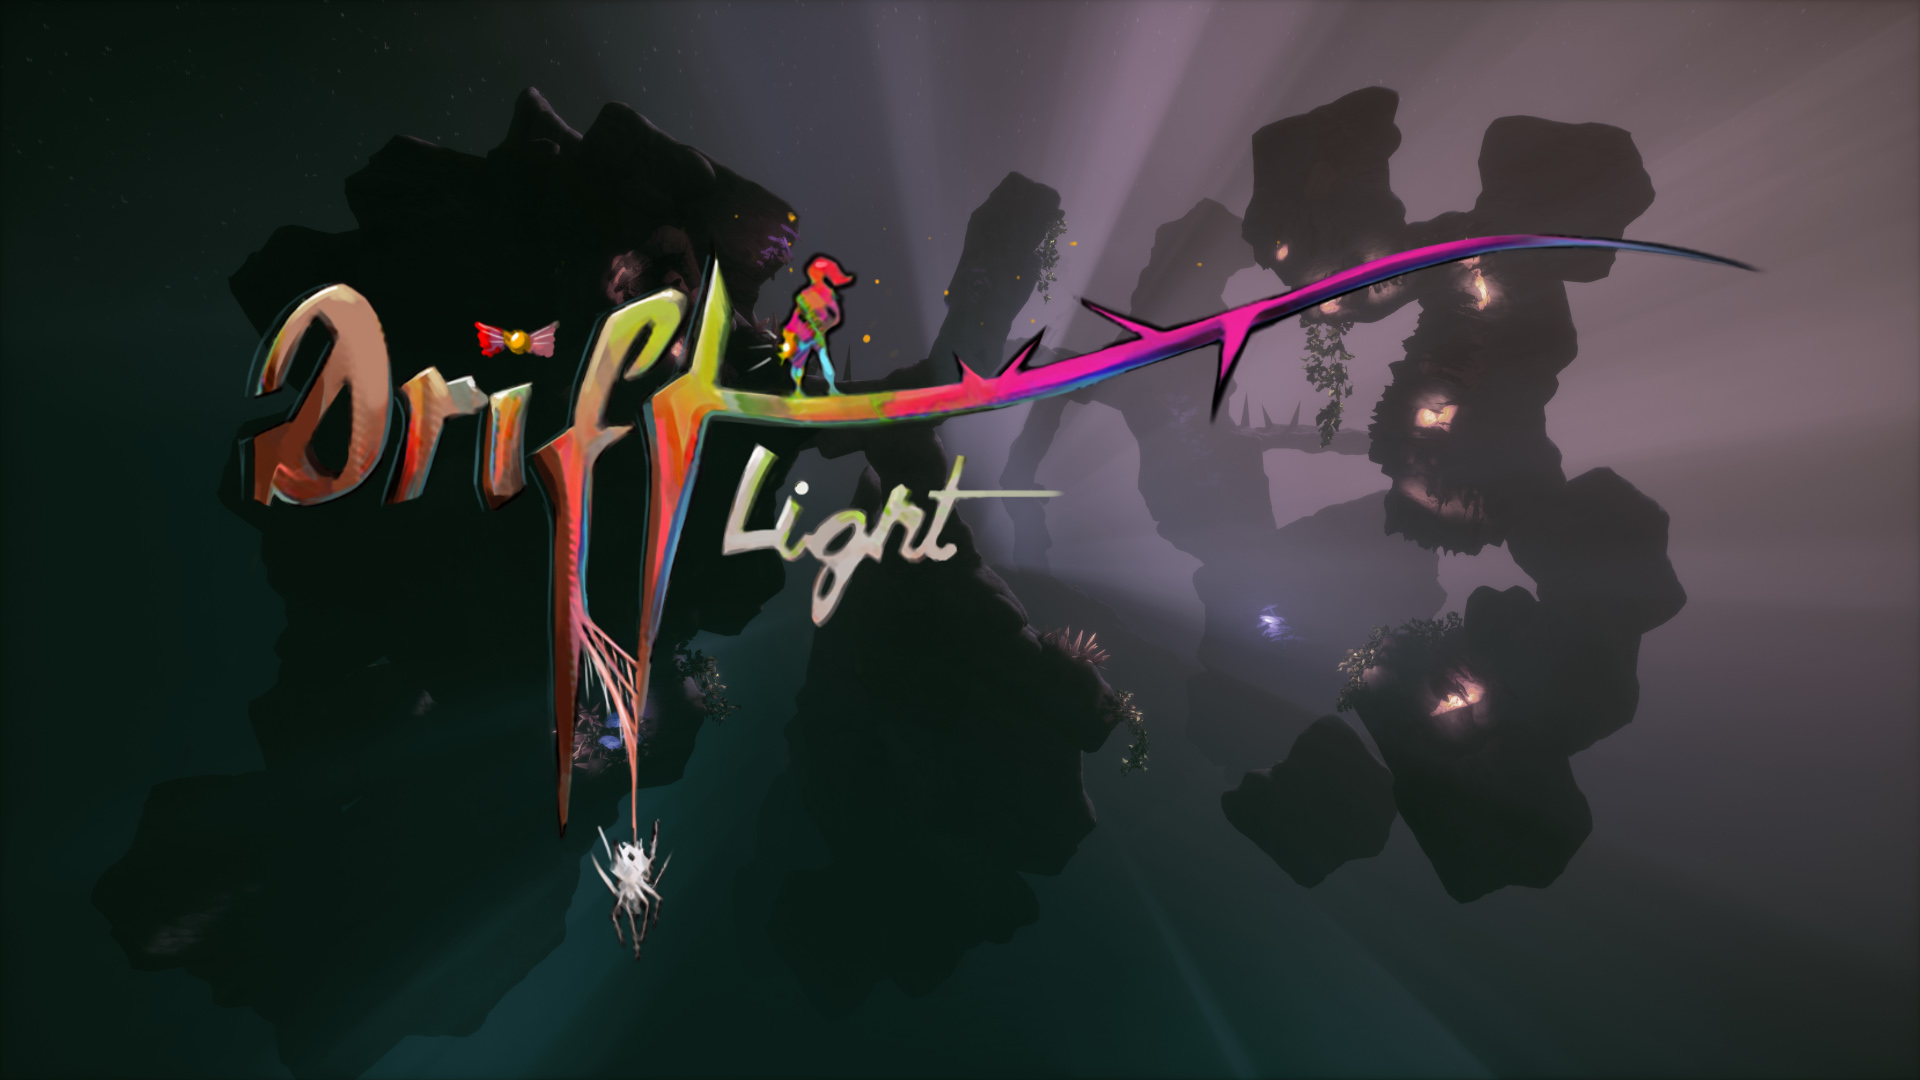
For the FIEA capstone process I was chosen by my professors to be the art lead for my project. The concept that my co-leads and I came up with after talking with our team is a game in which the player manipulates gravity (both their own and that of objects in the environment) to traverse a 2.5D puzzle-platformer. The original concept of the world took inspiration from Celtic myth as well as the idea that this world should feel alien to both the player and the player character - that they are an intruder in these lands.
My first step was to create a reference board for the artists to begin concepting from, which can be found here. I also began developing the art style guide for the project as well as a set of universal rules for file structuring and naming conventions in order to keep files consistent. This was not only for our project, but also so that other teams could share them and make for an easier time should artists be loaned out to other projects for any reason.
After our pitch presentation at the end of January we set about preparing for vertical slice at the end of February. Our target was 20 proxy environmental assets, a rigged proxy player model with four animations, and a rigged proxy enemy with four animations. At the end of the month, our totals were 33 environment assets, both the player proxy and spider proxy rigged and animated, and textures for the player and spider.
After reviewing our visual target from vertical slice, we explored whether we needed to adjust our approach to the forest or shift to a different biome, like a cave, to maximize the amount and quality of environment assets that our modelers could make and have the best aesthetic that we could achieve within the months we had left. After a few weeks of iterating through potential environment concepts, we decided to switch to a cave; stone, mushrooms, and crystals were simultaneously the more time-economic choice of assets and were able to come together more coherently than our previous forest.
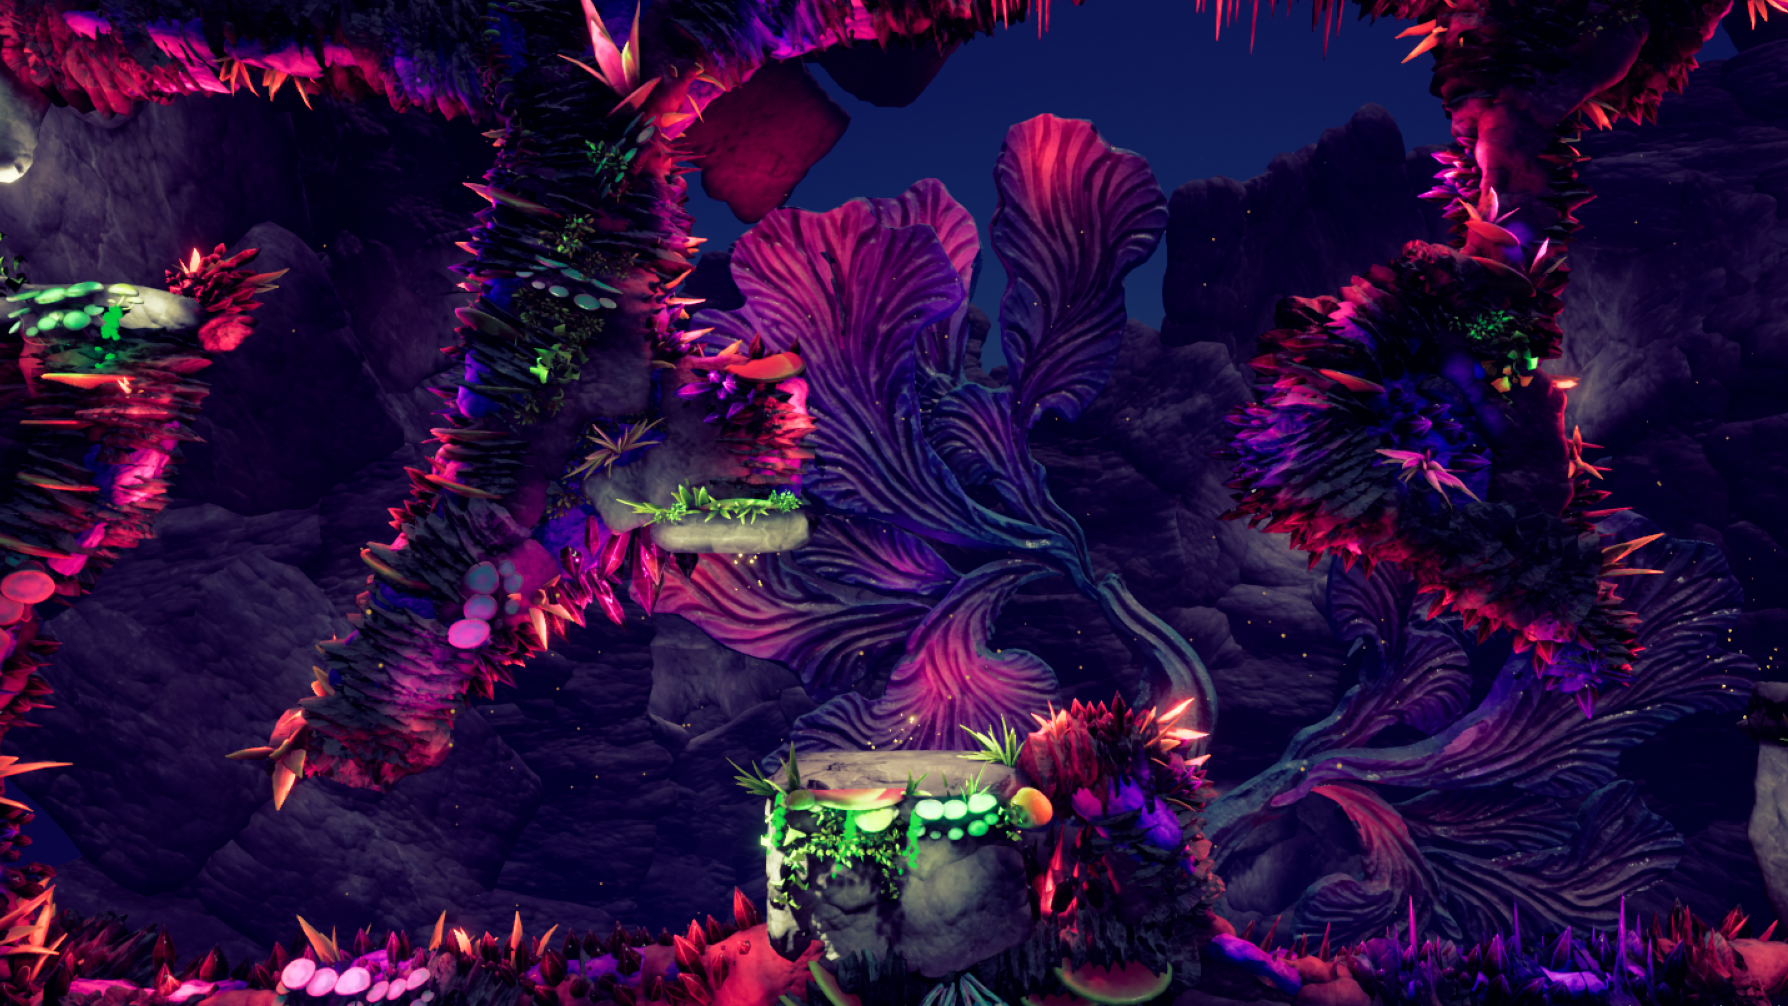
Around the same time we completed our final version of the player character, with a suite of animations for her. Her animations include movement, wall cling and wall jump, and spinning to match her new gravity vector when it changes. I am very pleased with how the character turned out, and players enjoyed exploring the environments we created with her.
Moving into the summer, our goals were to finish the redesign of the spider enemy, dress a second set of levels based around a crystal nest our environment artist created to accompany the spider, and to create two smaller creatures to bring more life to the world. I was able to rig the spider and small creatures, though the smaller creatures ended up being cut so that the time that would have been spend implementing their movement and behavior could be spent fixing bugs. I also created a script that allowed us to easily downsize the hundreds of textures we are using, in an attempt to increase performance and decrease the size on disk to facilitate porting the game to mobile. Our presentation at the end of the summer, with the state of our game and a competitive speedrun, can be found below.
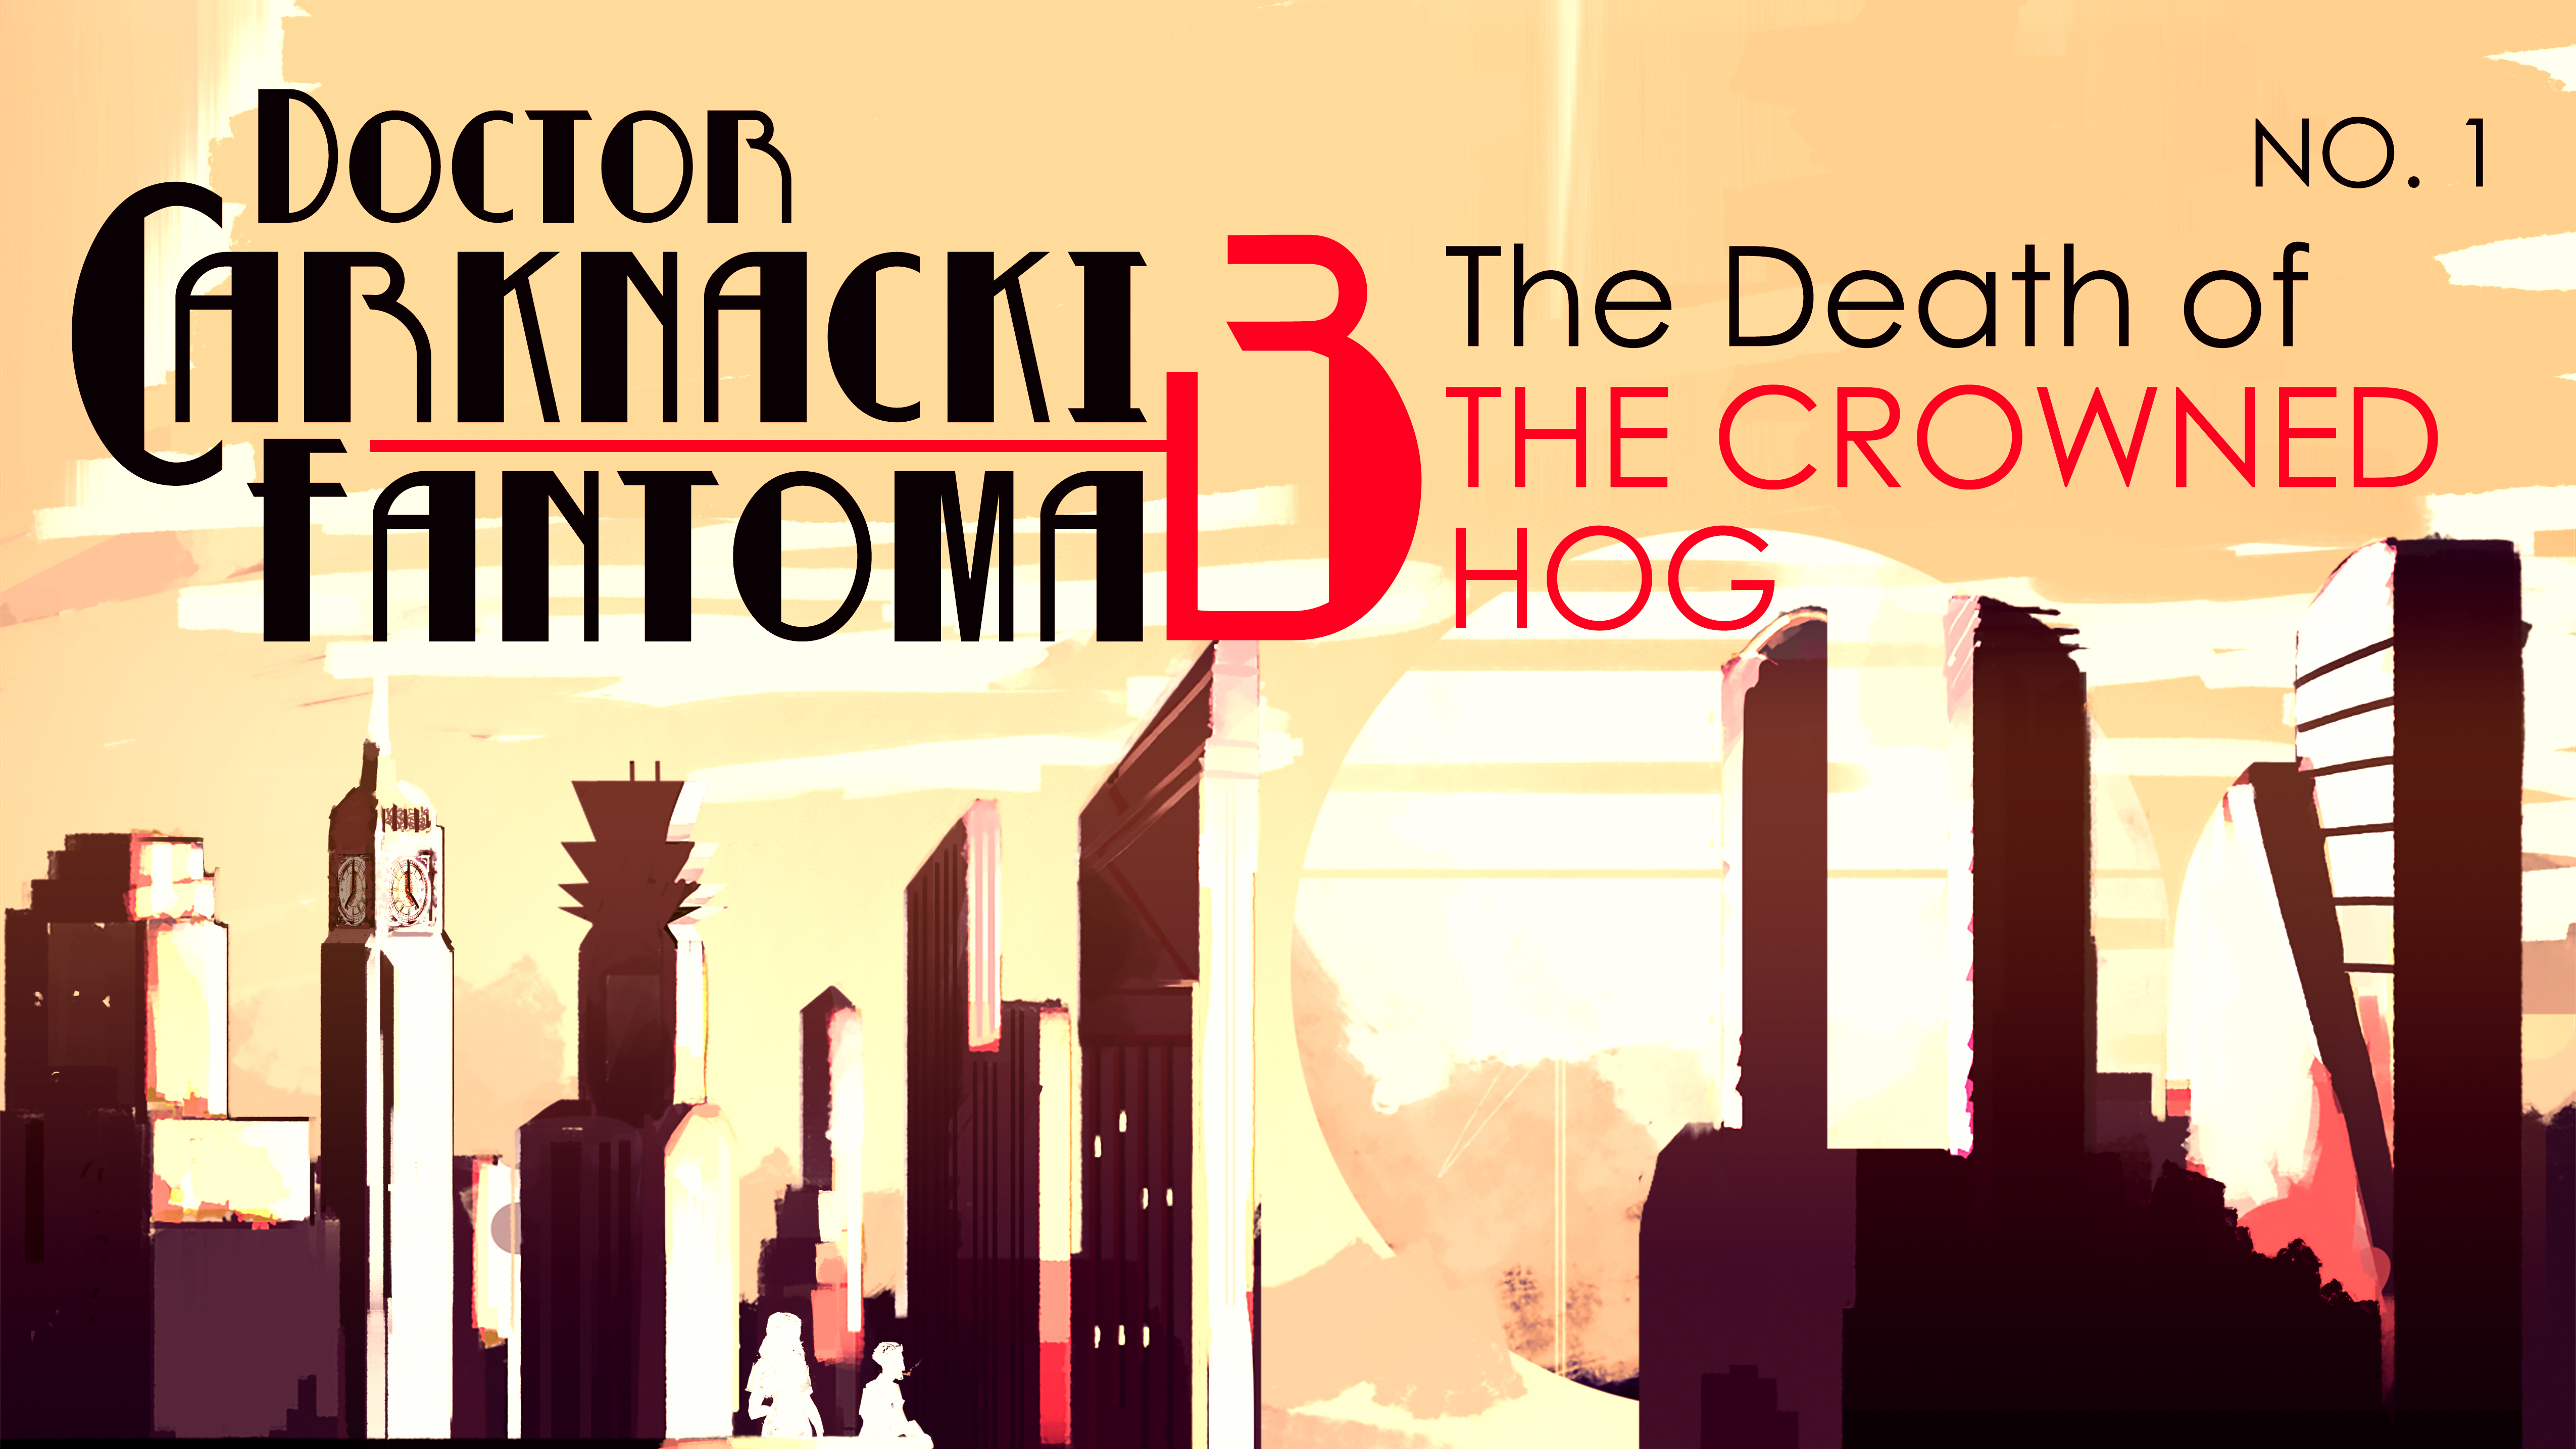
During the last 8 weeks of my Fall 2018 semester at FIEA, we went through a compressed version of the art pipeline, with the artists split into four groups. Each of these projects was chosen from a group of pitches in which a public domain IP was given a new interpretation. At the end of the term, one of those projects, based on the character Dr. Carnacki, was chosen to be the base for work done in the core art class during the second and third semesters.
For the spring semester, our main goal was to get the scene and experience blocked out so that in the summer we could refine and polish individual pieces. For the first milestone, I created a first pass at a shader for the pond in the middle of the scene and first passes at blueprints to make some objects in the scene interactable. In a future update, I had planned to upgrade the water shader to work similar to the shader I created in undergrad.
First, I tried to replicate the system that I had created in undergrad, but the time it took each frame to render was too expensive. Instead of going for realistic waves, I decided to simplify the formula, which both made the water less expensive and made it fit better with the rest of the assets in the level. Finally, I created an instance of the water material for the level builders to tweak the values of without having to deal with the material blueprint I had made.
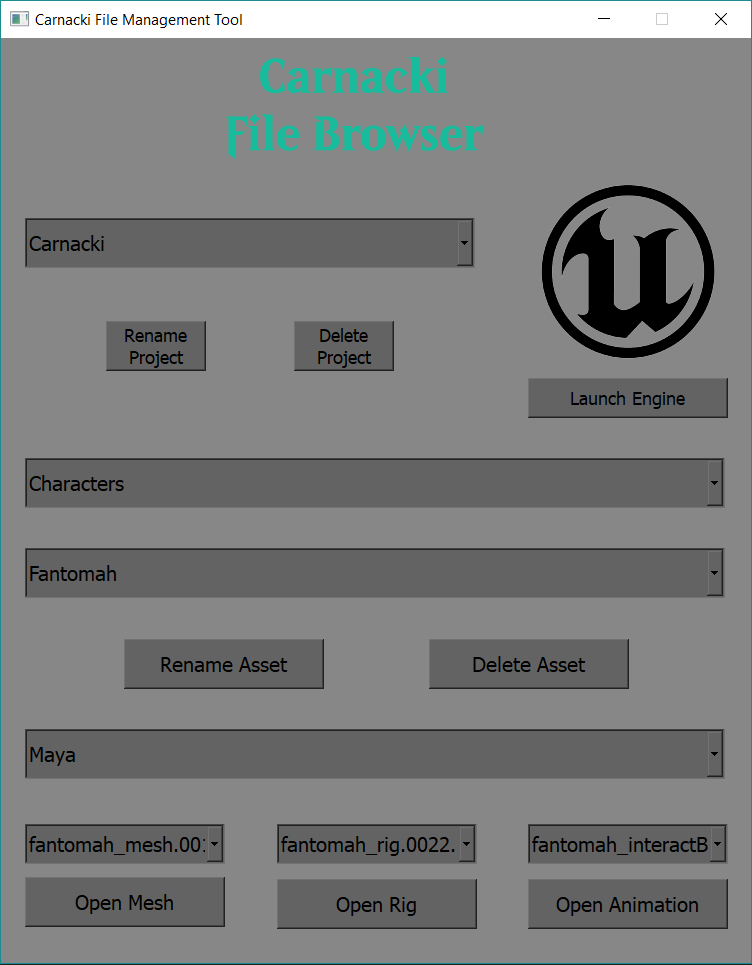
At the start of the summer semester, we had seen how a relative lack of file structuring and organization had poorly impacted our performance, so I took to the task of creating a file structure both in Windows and Unreal so that people had a standard place and format to keep their files for this project. I also created a set of tools to streamline this process further for the other artists, so all they have to do to access or save their files in the proper convention is click a button; I rolled these tools out to a few select artists for testing before deploying it to the entire team. While these ended up not being distributed to the entire team, I did learn quite a bit about how to manage tools across systems and techniques for deployment and getting feedback.
Over the rest of the summer, I created the rig for Fantomah, Dr. Carnacki’s assistant, and repurposed the Unreal VR hand skeleton to allow the experience to have custom hand models. Repurposing an already-existing skeleton and set of animations allowed us to create a lot of polish without much extra effort. My final contribution to the project was to create a glitching hologram effect for the grand climax. To do so, I combined a shader with repeating patterns and moveable vertex displacements with a blueprint that synced these with the animation. I am very happy with the end result of the project, though I do think our ceiling was lowered by a lack of communication and coordination in the beginning stages of the project.
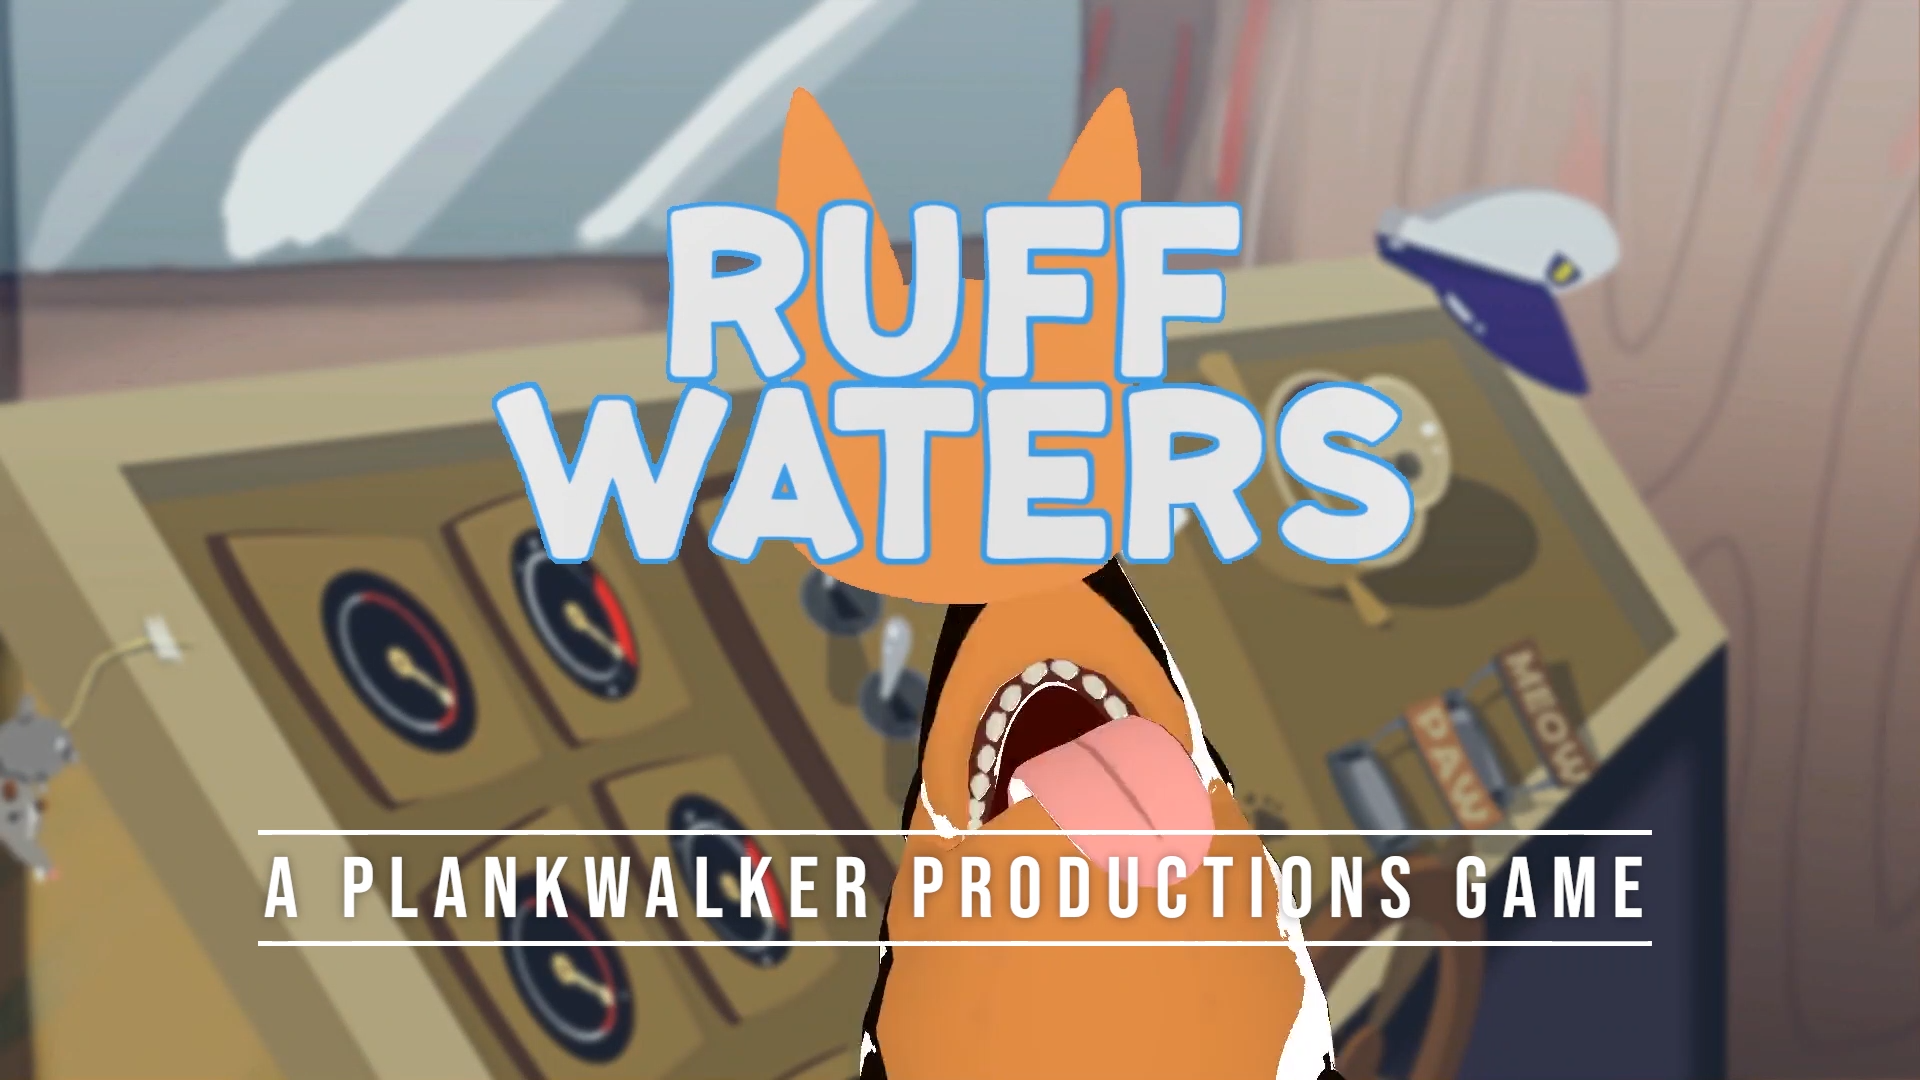
In the Fall of 2019, I entered FIEA’s Venture program, a semester-long program that would teach the skills needed to create and maintain a startup by having us enact the process. The team I was part of, Plankwalker Productions LLC, pitched and was approved to create an asymmetrical party game where up to three players played as a crew of cat sailors trying to collect “treasure” (read: tuna cans) from nearby islands while evading the “Doberfin”, a dog-shark controlled by the fourth player. We were inspired by games such as the Jackbox Party Pack that allowed multiple people to play with their phone while only one person needed to own and run the game from their computer.
The first task I had on this project was to create the cel shader for the game. The actual shader was not difficult to create (beyond one issue I will explain later); the process of creating the shader was mostly a back and forth between the art lead and myself on values of banding and shadow, whether or not to include outlines, and other questions of visual taste. We decided upon a shader inspired by the Netflix Castlevania anime: three bands (highlight, midtone, and shadow) with some softer shading within the midtone and shadow bands.
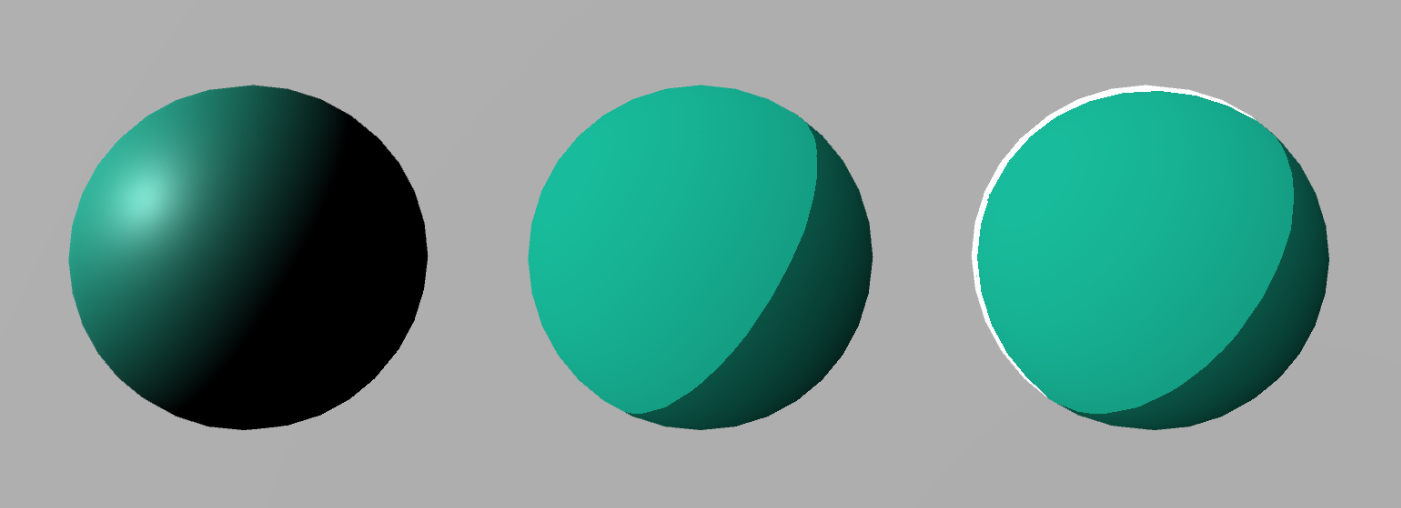
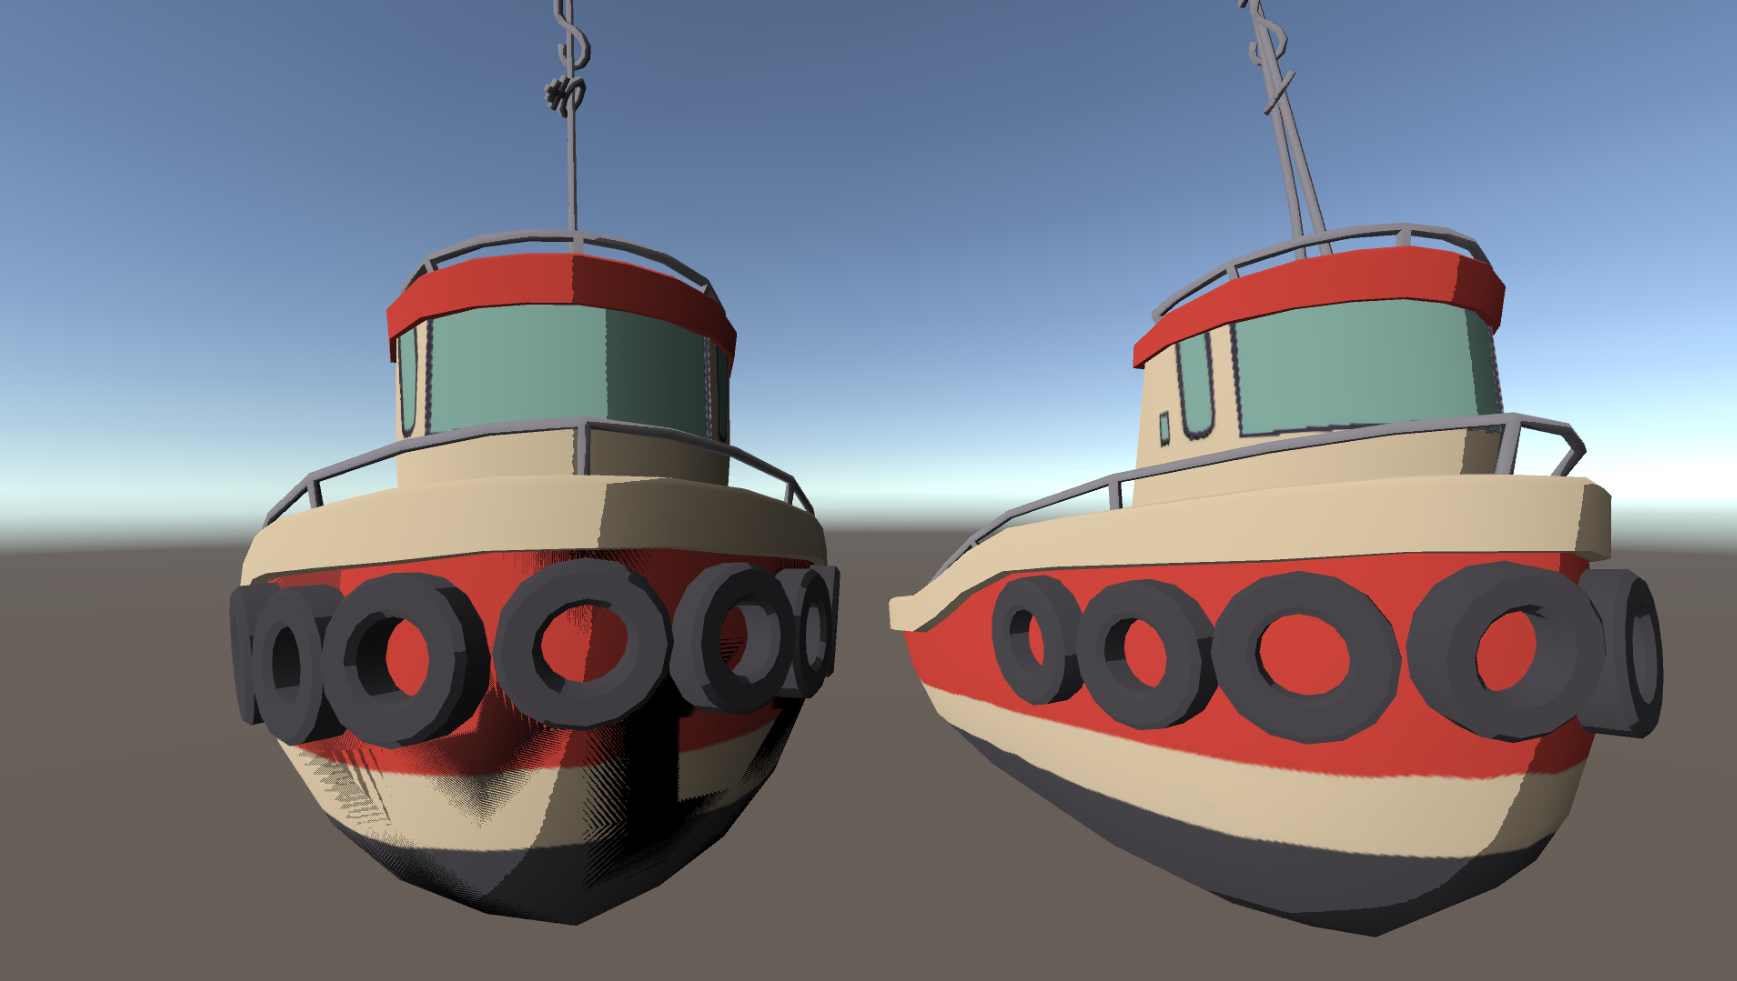
The main issue we encountered with the shader had to do with Unity’s lightmap. No matter which settings were changed in the engine or in the shader, there were always artifacts along the edge of the surface shadow of individual objects (though interestingly, not on shadows cast by objects onto other surfaces). After working with one of our other tech artists, Joe Bonura, we chose to add a new adjustable cutoff parameter to the shader that would allow us to cut the shadow at a value where we could get a clean line across the object.
I was also responsible for the rigging of the two player characters of the game – the cat sailors and the Doberfin. The most interesting part of these rigs to me are the face controls on the cats in which I used joint rotations to drive UV changes on the eye textures to move across an atlas, and the tongue controls on the Doberfin which allowed for more exaggerated movements for the animators. I had also implemented a custom socket system for costume pieces for the cats that would allow players to customize their cats with hats, shirts, and other accessories that they could unlock through play. I had also created tools to help the modelers and animators create, export, and test these assets, though the feature was unfortunately scrapped due to time constraints.
By the end of the Venture period, we had a working prototype of the game that was able to run on Android devices. Due to job offers given to members of the team, production on the game had to end at the end of the semester, though should the game ever be picked back up, the next steps would be porting to iOS devices as well as implementing cut features such as costumes and new maps.
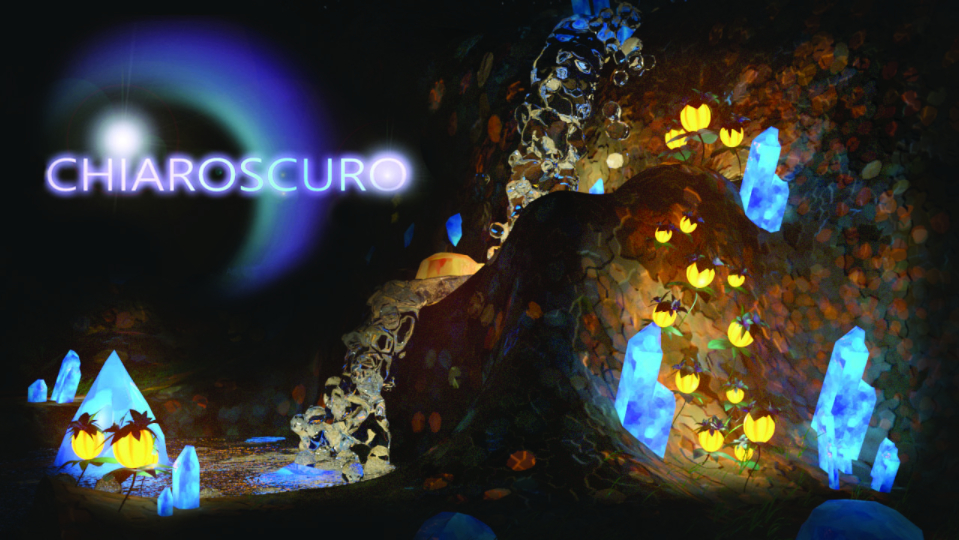
Project Orion, also known as ChiaroScuro, was a project to create a couch co-op game for the Playstation 4. In the game, you and a friend played as fox-like spirits that could possess objects in the world around you to help solve platforming puzzles. The team was comprised of 14 students, split amongst programmers, artists, designers, and a producer. Work on the project started in October 2015 and ended May 2016 with a working prototype.
My job on the project was as the animator and character artist. I worked alongside the art team to design the two player characters, as well as worked alongside the programming team to help create and debug the animation pipeline. In addition to working on the characters, I would animate the various flora and interactable objects in the world, with models provided by the rest of the art team.
The character contained several interesting lessons for me in my growth as an artist and programmer. I had to research digitigrade motion to create the main characters, which have the "double knee" of a goat's hind leg. I also learned about several interesting techniques for hair and fur, settling on using planes for their simplicity both on my end and on the engine team. What I found most interesting was learning about the COLLADA file format and how it structures data. When I first saved and loaded my files, I would get strange (and sometimes horrifying) deformations of the models. After some experimentation, I learned that the COLLADA file had, for my purposes, extra data it did not need that was deforming my models, which I then went in and deleted.
Like much of the project, the character design process was very iterative. The original design for the game featured a world in which humans and nature lived in harmony, with the two players controlling two children named Emma (seen below) and Wilhelm. I had made animated models of the two during the winter break, though the project idea was changed at the start of the next semester. Over the course of the next few weeks, the theme changed rapidly until we settled on the colorful, exotic world inhabited by animal-like spirits that you see in the final game.
In hindsight, if I were able to go back and change anything about the project, I would have changed the scope of the game early on, and made sure that the game idea and level design was finalized before the spring semester even started. The constant changes backlogged art and programming, which left us with a much smaller demo level than we had originally envisioned. I would also have created a simple tool that would have allowed me to fix my COLLADAs without having to manually edit them in Notepad++.
Close Project
In January 2020, I was contracted by Falcon’s Digital Media, a subsitiary of Orlando-based themed entertainment company Falcon's Creative Group, as a Pipeline TD. The contract was for three months, where I would be expected to aid in the creation and fixing of the tools used to create the experiences, mostly in Maya but in standalone applications and game engines as well.
Some of my first tasks at the company involved simple fixes to some of the more common tools used by the asset team. This allowed me not only to learn the workflow at Falcon’s, but it also helped me meet and get to know members of the modeling and animation teams and how they work individually and as a group, so that the things I make would work for them as people and not just a hypothetical ideal artist. Working through these tasks also gave me, as one of my FIEA professors would say, “meatballs down the middle” to ease any worries I may have had about working in a professional capacity.
One larger project that I helped contribute to over the course of my initial three months was the deployment of a new central asset repository for the company. The work I did for this project was mainly creating and fixing tools that would help ingest some of the existing assets that would be transitioned into the new library. I was able to create different modes for ingestion that would account for differences in models and differing Shotgun needs for in-house models and models created through external software.
After my contract expired, and the initial wave and shutdown of the Covid-19 pandemic was done, I was brought on full-time. My first major task was for another similar tool - one that would allow the asset and production teams to quickly create Shotgun tasks for new assets. This tool required some of the most rigorous input-checking that I have had to make thus far; inputs had to not only satisfy the requirements of Shotgun, but company naming standards as well. While checks against the Shotgun database are slow (and something I would go back to improve if given time to do so), it was ultimately faster to make those checks and alert the user that their inputs were invalid than it was to allow the application to error out seemingly for no reason to the user and have them waste time figuring out what was wrong.
As projects began to grow and the number of DCCs used by the studio began to grow, we realized there was a significant issue – there was not a file format for cameras that was universal to all of them; some had issues with alembics, others with FBXs. To remedy this, I created a custom JSON-based camera storage format to allow for seamless transfer between all relevant DCCs. I also created custom importers and exporters for each to make sure that even between the varying coordinate spaces and world units, the movement would remain consistent. Since the format is controlled completely by our department, we can track as many facets of the camera as we want, and any values unused by certain engines can be stored as dummy parameter values for safekeeping. In addition, being based on JSON, any DCC that can read a JSON file would be eligible for expansion should it need to be able to work with these cameras.
Close Project
For most of 2021, Falcon’s Digital Media has been contracted to work alongside Mindshow to create a new 3D season of the Enchantimals show for Youtube, as well as A StoryBots Space Adventure for Netflix. While Falcon’s has a history of making pre-baked content for theme parks rides and museum attractions, to my knowledge this has been Falcon’s first foray into the episodic animation world.
Early on in Enchantimals production there was a major hurdle – the source files we would be receiving were made in Maya 2020, while the studio had been working in 2019. Without the time or manpower to upgrade the whole studio to the next Maya version, we instead were working in Maya 2020 with only the vanilla Shotgun features. To be able to still have the farm work and keep proper track of animations and renders, my boss and I started working on a toolset custom to this project to mimic the required functionality we have in 2019, as well as additional functionality to save time on lighting and compositing given the tight deadlines. He had also been working on an updated core toolset to replace our aging current tools, which this project serves as a live testing ground for. This has allowed us to find weaknesses in the new toolsets, and work on fixing them before expanding their use out to the greater team.
While we were contracted for the entirety of the season for lighting, rendering, and compositing, we only animated for the first 9 episodes (Sunny Savanna), while the animation for the Royals episodes was done by an external vendor. We were able to work with Mindshow to ensure that the deliveries from the vendor were as close as possible to our internal setup, meaning only minimal code changes were needed to keep the files in the same state that the lighting department is accustomed to.
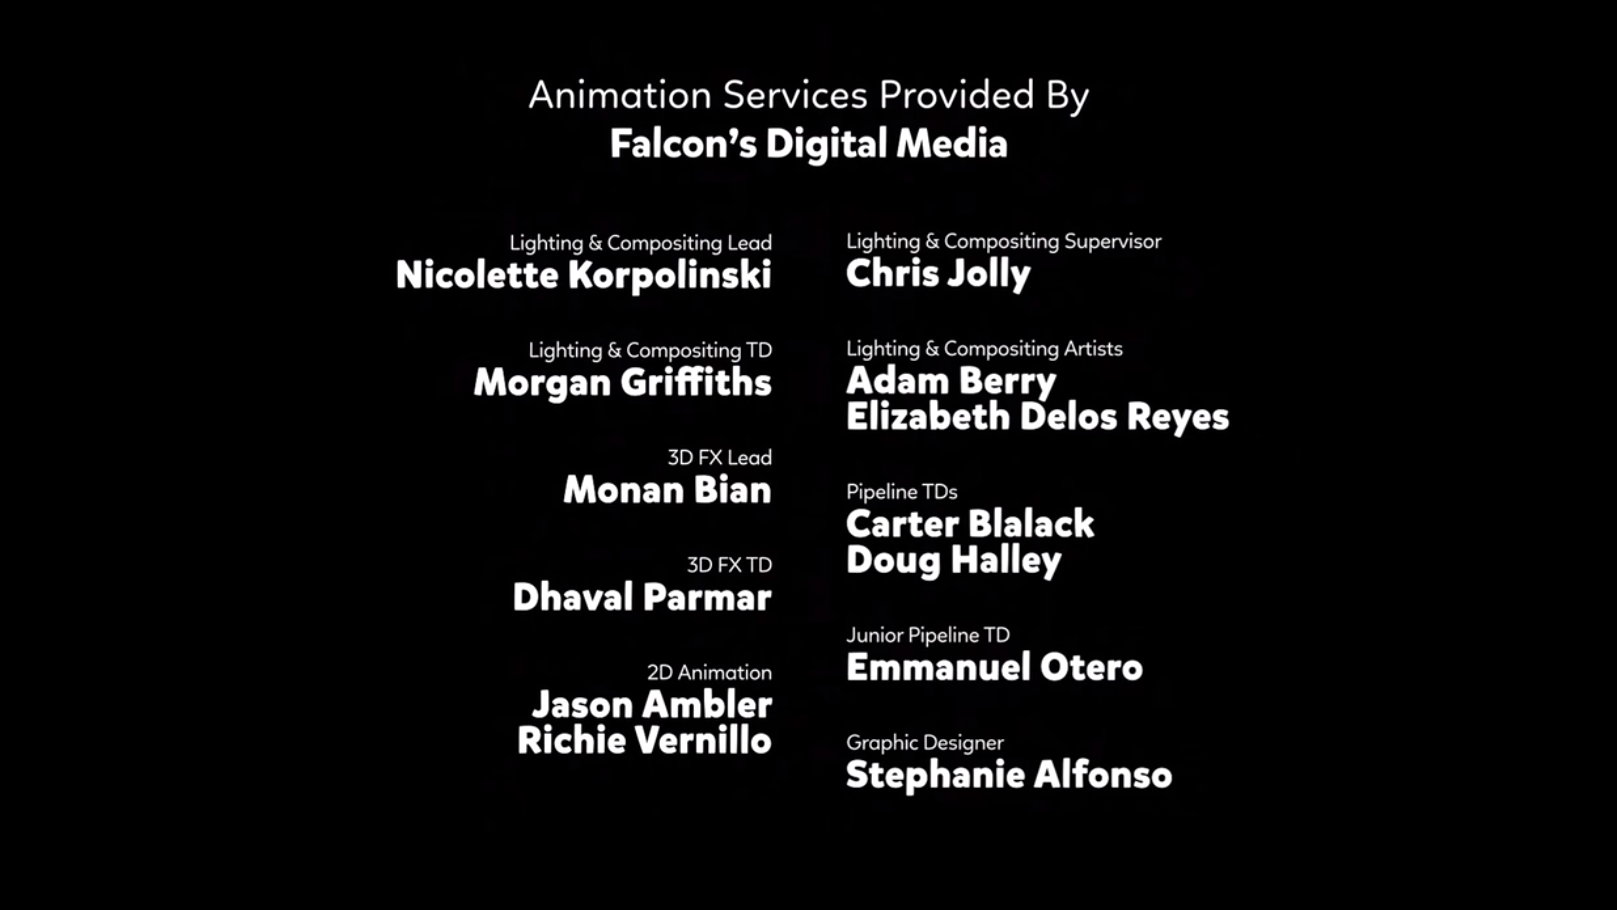
While not what I expected to be my first on-screen credit, A StoryBots Space Adventure was a fun if sometimes stressful project. The first task was to get VRay working in our Maya setup alongside the Redshift we are used to; while the source rig files were made in VRay, we were able to make the conversion and save on both time and money not having to switch the whole studio to a different render engine for 2 months. With that done, my work on StoryBots mostly consisted of helping remove rogue remaining VRay nodes and shaders, and, with some help debugging from my boss, I was able to retrofit the compositing code we used on Enchantimals to speed up the compositing process on scenes made up of a few repeating camera angles and lighting setups. While in the quick-burn schedule there were some scrapped ideas and not-as-polished shots as we may have liked, I am very proud of what we made, which you can watch for yourself here.
 Close Project
In the fall of my fifth year, I was able to take a scripting class in RIT's 3D Digital Design program. I learned the basics of Python and how to integrate it into Maya, as well as touching on implementing scripts in Houdini as an example of learning new environments. These came through the medium of a dice-roller that would show the rolls as models in the interface.
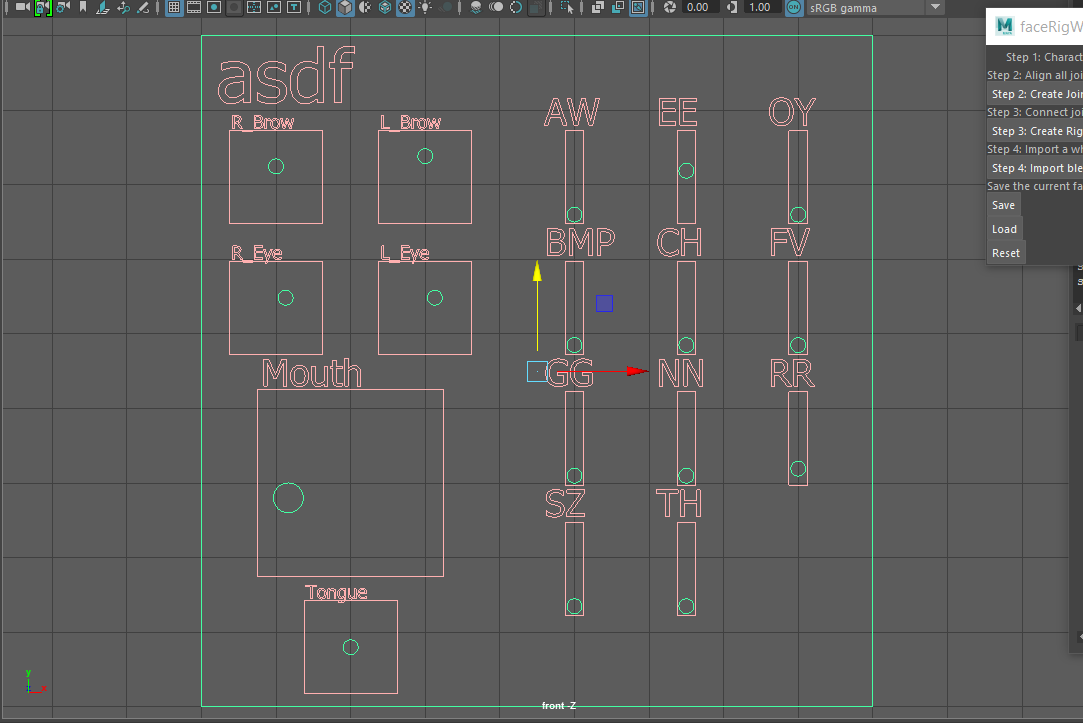
For the final project in the class, we created a basic auto-rig and controls for a face model. To go above and beyond what needed to be done, I added separate controls for the phoneme shapes (originally they were all on the tongue controller) and added "save", "load", and "reset" functionality to help when editing the face. One issue with this auto-rig, as it stands, is that the skin weighting has to be done manually, and any current work has to be manually deleted and the history removed to "reset" the model.
During my first semester at FIEA, I was approached by my professor, Chris Roda, about taking on additional work for tech art class, because I would not advance my skills much from the regular homework. After talking with him about the subsets of technical art that interest me, rigging and shaders, we decided that I would jump-start the work for next semester and get started with an auto-rigger.
I first worked on being able to build a skeleton from NURBS spheres that the user could move to position the joints, and then built a simple FK rig on those joints. Subsequently, I created a simple IK rig with foot and wrist controls. After I got the functionality working, I went back to my code and made it more modular so that in the future, more interesting forms (such as those that may come up during capstone) can be accounted for. In the spring I added onto the autorigger, I added FK/IK switching on the arms and legs, reverse IK feet, IK spline spine, the ability to scale the proxy spheres without disturbing their position, automatic skinning, and an FBX export to have the model ready for use in Unreal 4.
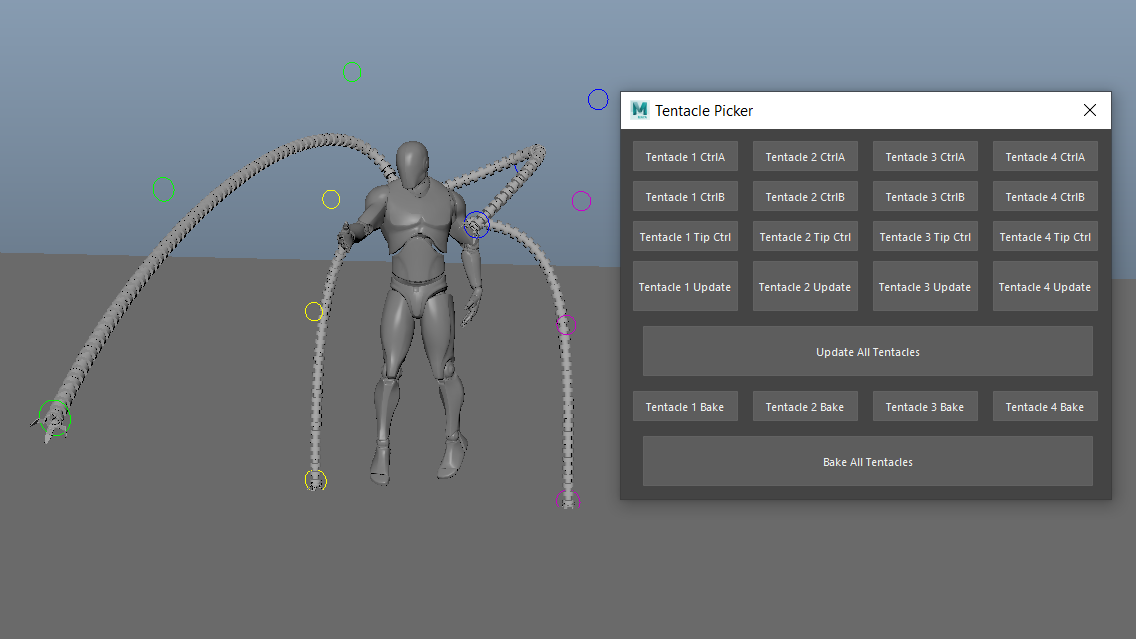
For my final major project of the summer semester, I wanted to make something that would show off my ability to program rigs beyond just my autorigger. Inspired by a GDC talk given by then-Insomniac rigger Sol Brennan that I had seen a few months prior, I wanted to try my hand at replicating the Doc Ock rig from their talk. In my early tests I wanted to have the tentacles animating in real time with the controls, but I could not get the conditional statements on the joints to properly update with the controls; something I had found early on is that the "units" on the curves were not evenly spaced, but the calculation to evenly space joints along the curve was not working with the setup that I had. I decided to change to an on-demand update option, and create a picker to accompany it. With this system, the joints are able to space and orient themselves along the curve perfectly, though with over 100 joints per tentacle, baking out an entire animation takes a significant amount of time.
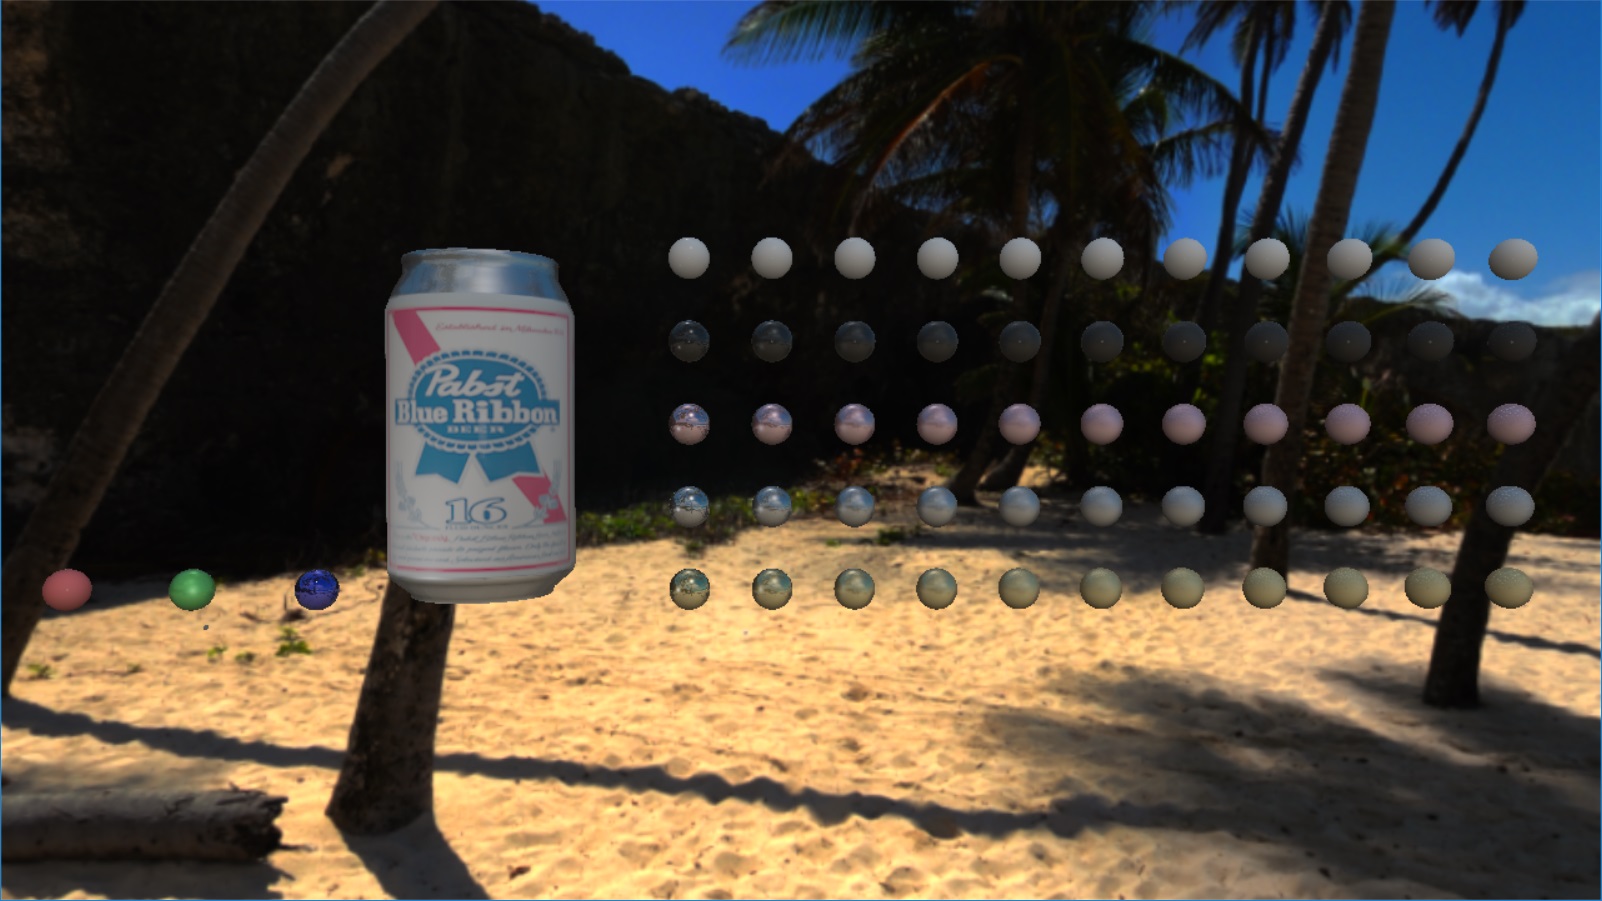
During the Spring semester of my fourth year at RIT, I took a class on graphics programming. The class focused on DirectX 11, and I thoroughly enjoyed working on the projects. For the final, I worked on a group project called "Proving Grounds", a first-person shooter based on the tutorial levels of the Modern Warfare games.
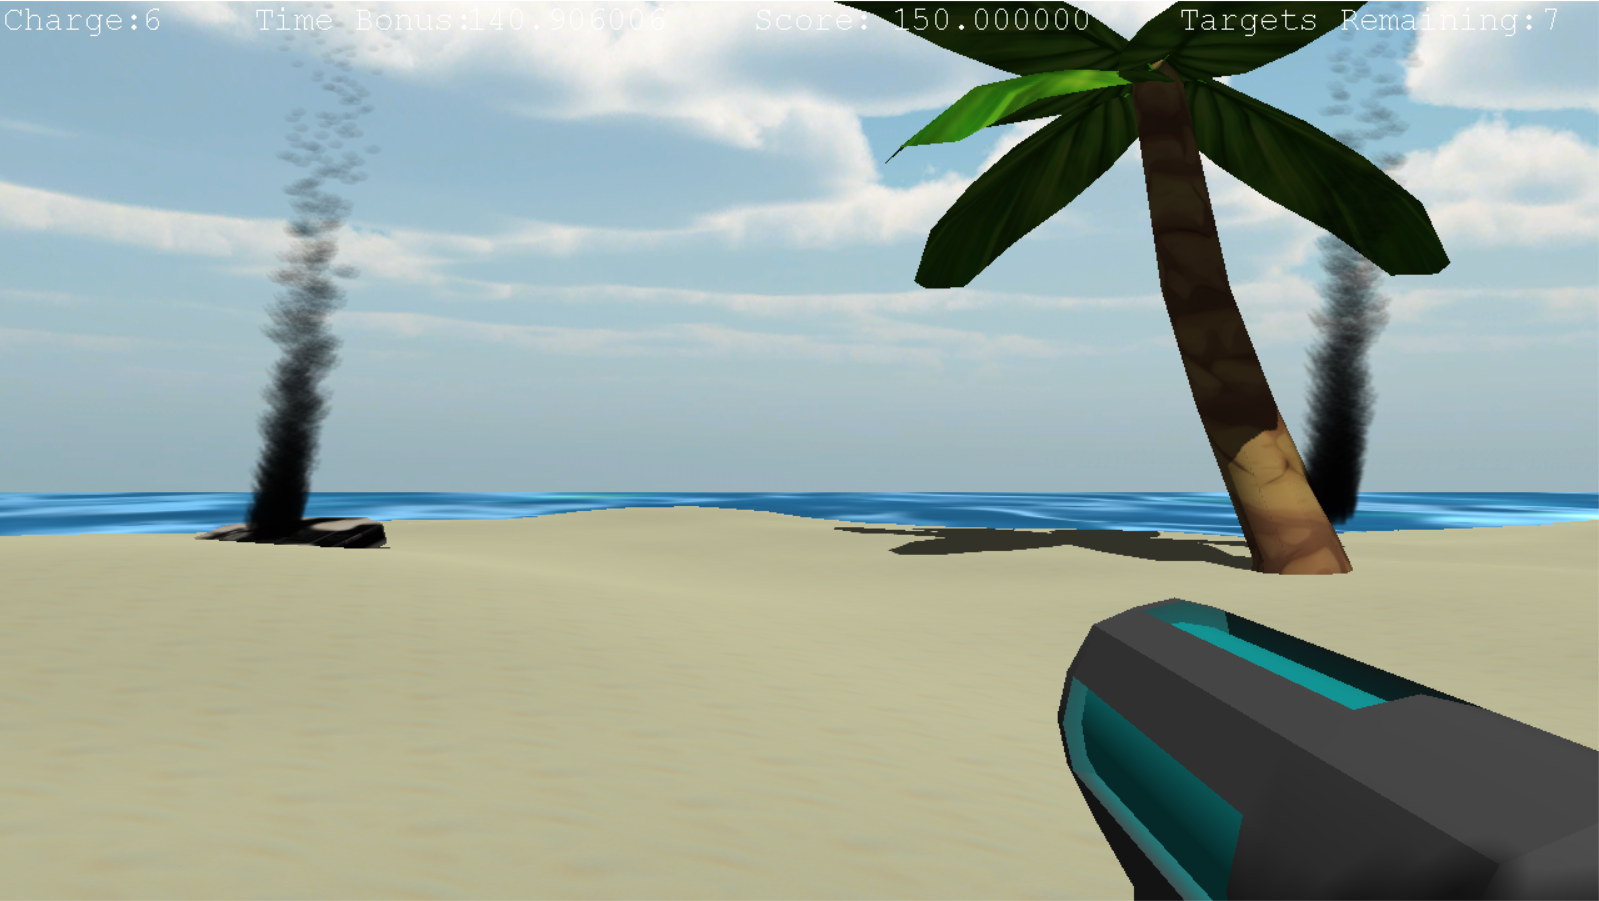
For this leg of the project, I wrote the lighting code, set up support for multiple shaders on a single entity, acted as a memory plumber (fixing the leaks and crashes coming from destructors or the lack thereof), coded all particle effects in the game, and programmed the gun and target code. One of the biggest issues was getting the gun model to aim and move properly, which led to the removal of verticality from the aiming; this in turn led to the slight bullet drop, to make aiming among the hilly sand dunes easier.
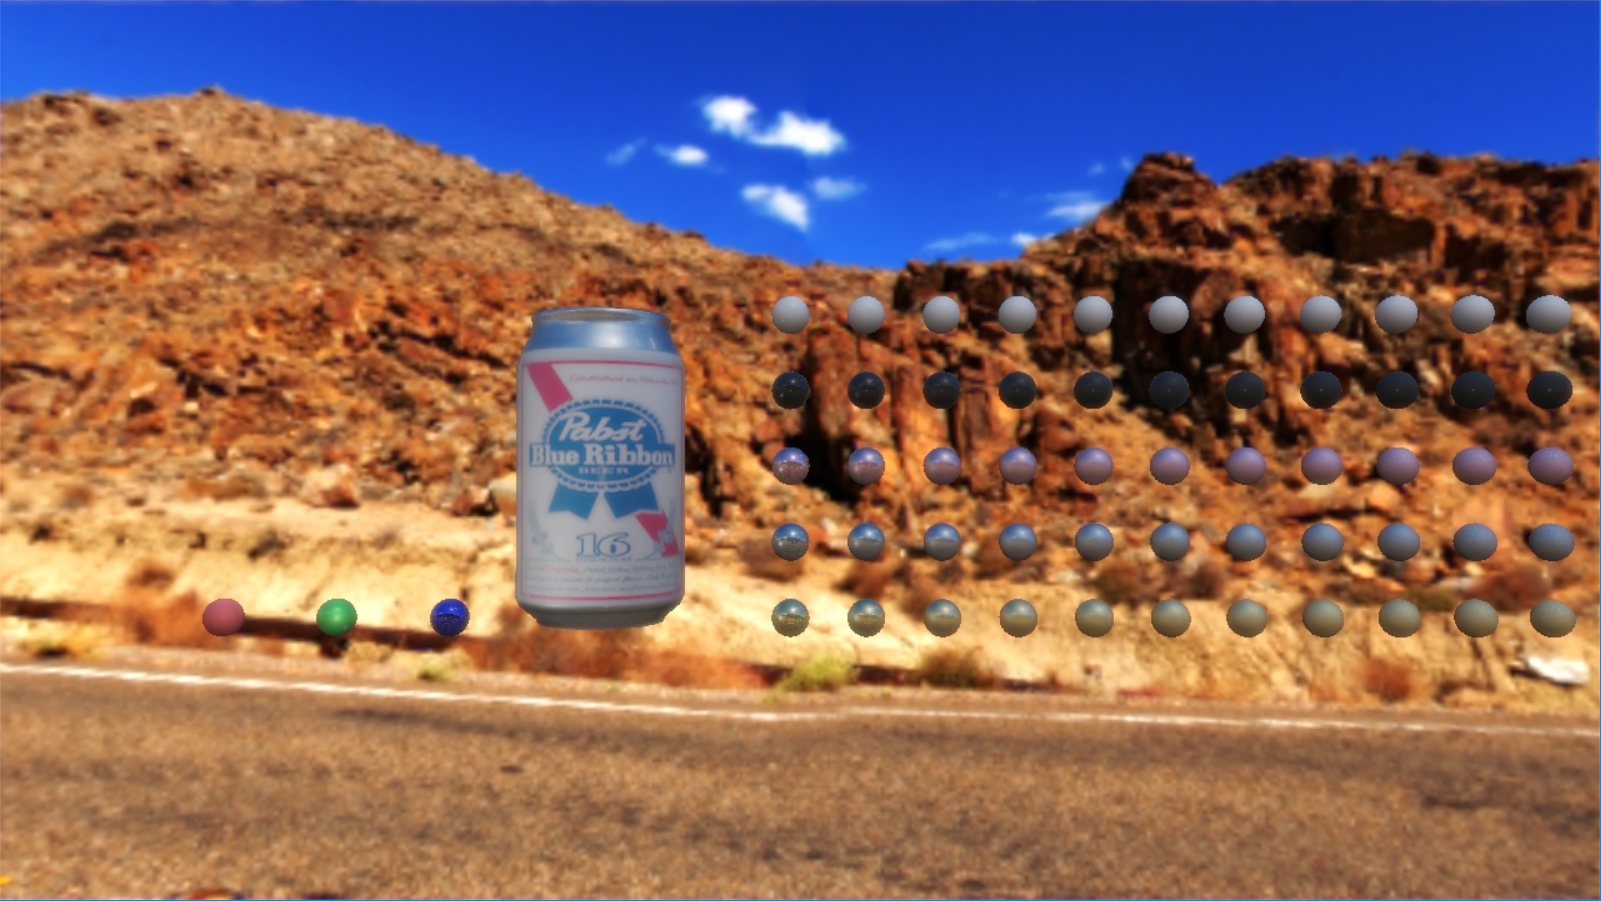
I continued to work on the project during the fall of my fifth year. My main focus during the semester was implementing physically-based rendering (PBR); in addition, I added various post-processes. To help with testing, I created a testing environment within the original game, with its own controls for quickly changing things in the environment.
Getting PBR working was frustrating at times, as I would run into roadblocks caused by either a small mistake on my part that I had overlooked or by things I had not been taught. This would lead to research on the topic and as a last resort going to my professor to have him explain. In the end I thought it was a very beneficial experience and seeing it finally work was an amazing sight. On the other side, post-processing was very easy to implement, and I was able to get a handful created in about two hours, such as blur, bloom, and greyscale.
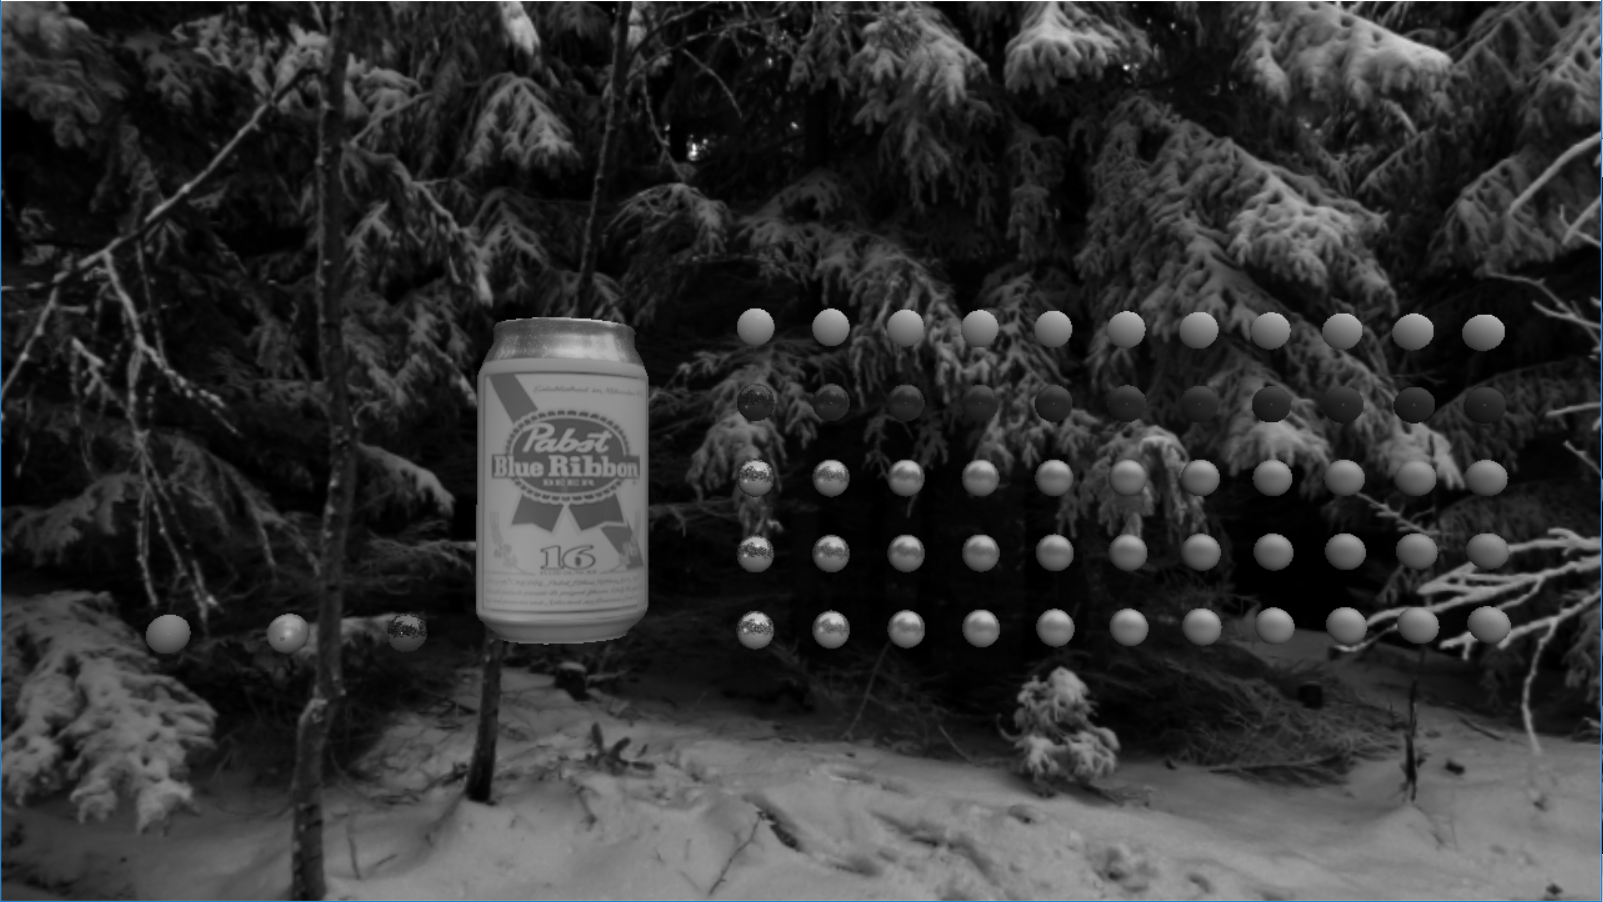
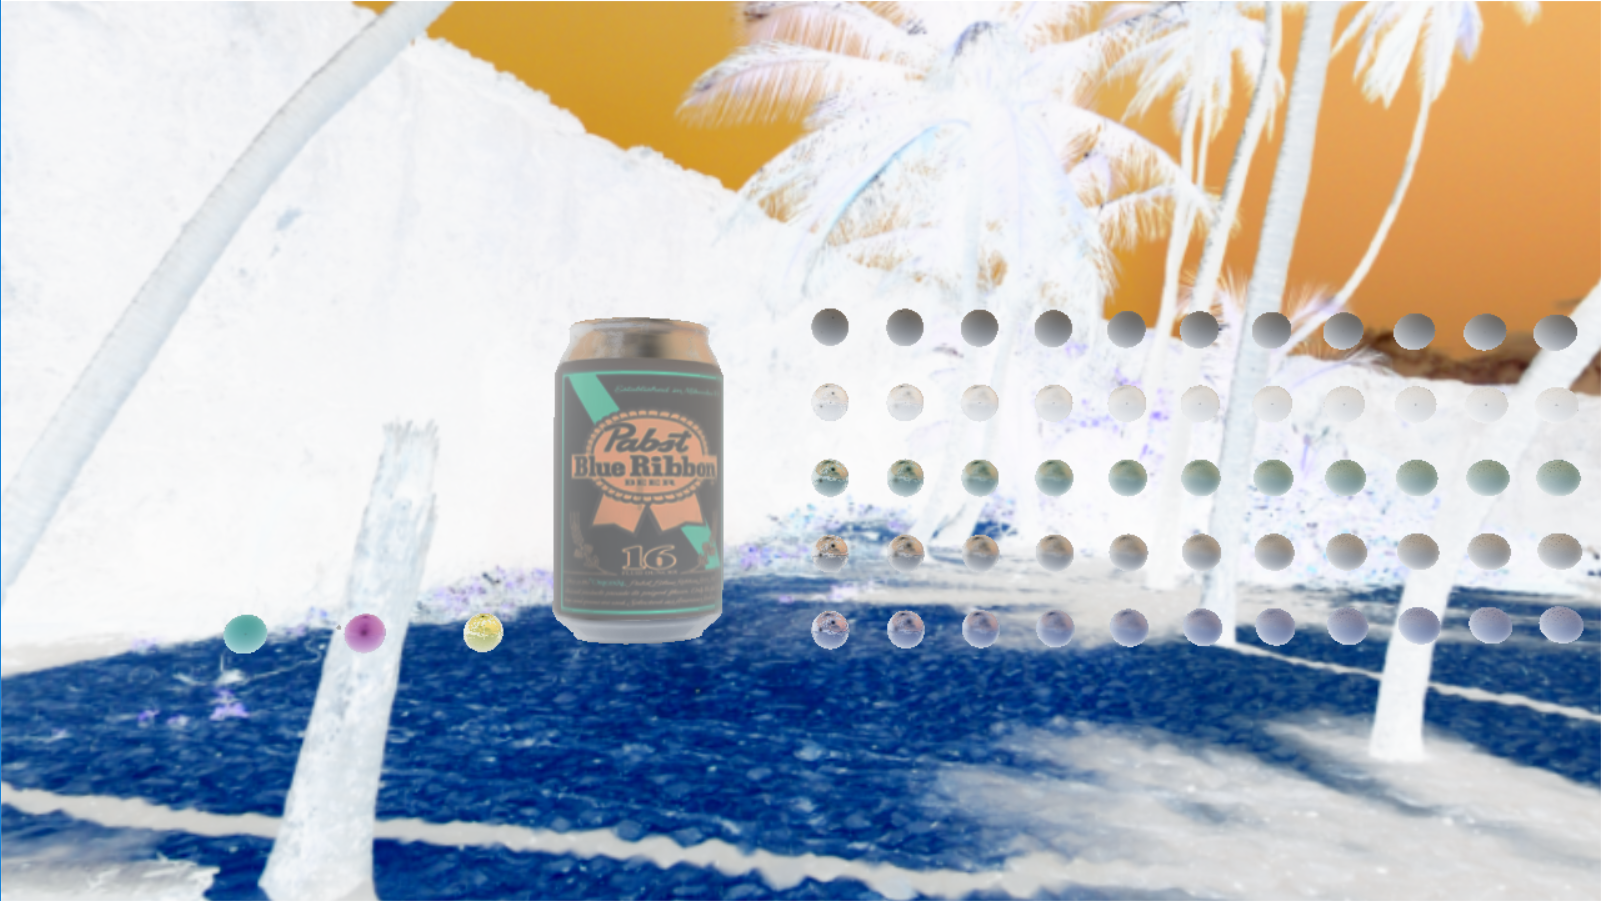
During the spring of my fifth year, I decided that I wanted to tackle water. I had been inspired by seeing Disney's Moana, and wanted to take a stab at my own water shader. The first thing I implemented was reflection and refraction; reflection is done as a pass on the world viewed upside-down, clipped by the water plane then distorted by the waves, and refraction is just a distortion on the image clipped below the water plane. For the wave motion, I used Gerstner waves implemented in the vertex shader to displace the actual geometry of the water, not just simulating the lighting effect. Finally, I added an ImGui control setup so that the user can change the parameters of the world to test different wave patterns, PBR settings, etc.
For our first semester tech art final project, we were tasked with creating any kind of tool or effect we wanted. When I attended GDC, I saw a talk from Naughty Dog about some of the tools they used in Uncharted 4, and was inspired by their use of vertex cache animation to replace joint-based animation for simple models, and wanted to try and recreate it. The result was a system in which I could export an animation from Maya as a .json file, use a script to convert that .json into a .png, then import that .png into a vertex shader that I wrote to animate the model, as you can see below.
This tool, and the methods and theory behind it, were the topic of a lecture I gave to the other tech artists in my cohort during the summer semester. I used the tools and broke down the scripts and vertex shader to explain the processes behind vertex caching and vertex animation, as well as explained other implementations such as those from 3DS Max and Houdini.
Close Project